When you’re ready to transform your home with the Anker Smart Home Power Kit, following the step-by-step instructions is essential. You’ll start with unboxing the kit and gathering the necessary tools. Next, you’ll learn about important safety precautions to contemplate before installation. This foundation sets the stage for setting up the smart hub and connecting your devices seamlessly. But what comes next could really enhance your experience.
Key Takeaways
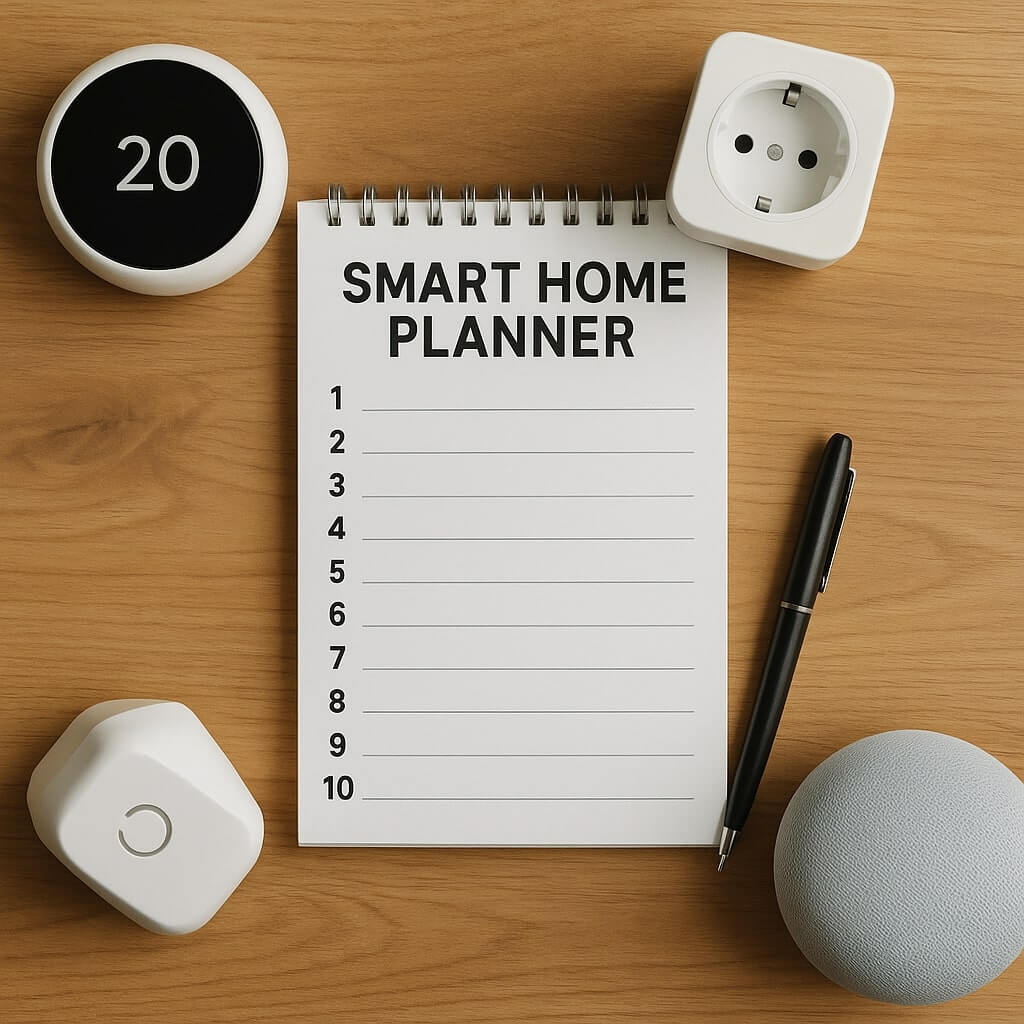
- Begin by unboxing the Anker Smart Home Power Kit and organizing all components and tools for a smooth setup process.
- Ensure safety by turning off the power at the circuit breaker and wearing personal protective equipment before installation.
- Connect compatible devices using the Anker app, following the step-by-step pairing guide for seamless integration.
- Set up automation triggers and customize scenes through the app for enhanced convenience and energy management.
- Regularly maintain your system by checking connections, scheduling updates, and monitoring device performance for optimal functionality.
Unboxing the Anker Smart Home Power Kit
Unboxing the Anker Smart Home Power Kit is an exciting experience that sets the stage for your smart home journey.
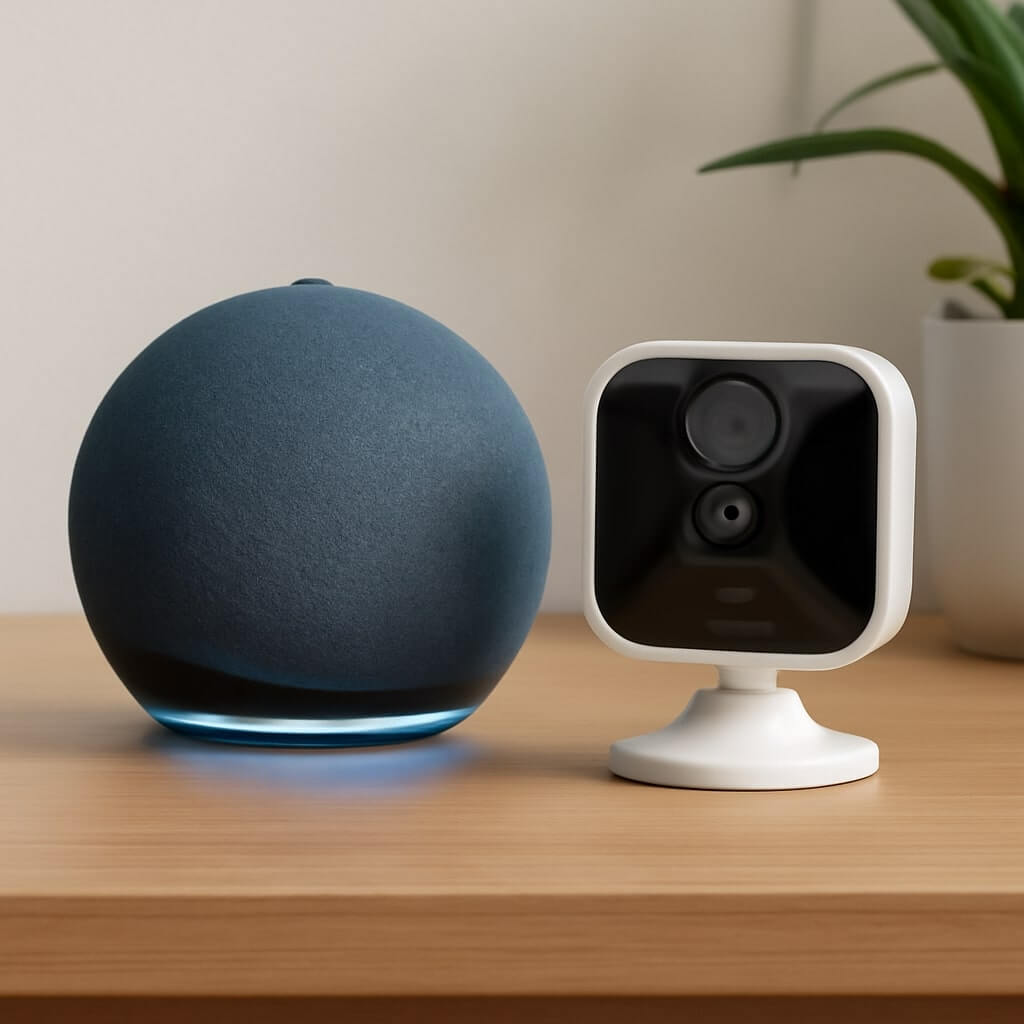
As you lift the lid, you’ll immediately notice the thoughtful packaging designed to keep everything secure. Inside, you’ll find the power hub, various smart plugs, and essential cables neatly arranged. Each component is easy to identify, enhancing your unboxing experience.
You might also discover a user manual that guides you through setup. This clear organization not only protects your items but also creates a sense of anticipation as you prepare to transform your living space into a tech-savvy haven.
Required Tools and Materials
Before you start setting up your Anker Smart Home Power Kit, you’ll need some essential tools and materials.
Make certain you have everything on hand, including specific equipment and safety gear. This will help guarantee a smooth installation process and keep you safe while working.
Essential Tools Overview
To successfully set up your Anker Smart Home Power Kit, you’ll need a few essential tools and materials at your fingertips. These tools guarantee a smooth installation process, helping you enjoy the smart home benefits sooner. Here’s a quick overview:
| Tool/Material | Purpose |
|---|---|
| Screwdriver | For securing devices |
| Wire Strippers | To prepare wiring |
| Electrical Tape | For insulation |
| Multimeter | To check connections |
Follow these installation tips, and you’ll have your smart home up and running in no time. Let’s get started!
Material Specifications Needed
Now that you have your tools ready, it’s important to confirm you have the right materials specified for the Anker Smart Home Power Kit.
Securing material durability and component compatibility will lead to a successful installation. Here are the essential materials you’ll need:
- High-quality electrical wires
- Compatible circuit breakers
- Wall mounting brackets
- Insulation materials
- Connectors and terminals
Gather these items to verify your setup is both safe and efficient.
Each component plays a significant role, so choose wisely to achieve ideal performance and longevity for your smart home system.
Safety Equipment Checklist
When preparing for the installation of your Anker Smart Home Power Kit, having the right safety equipment is essential.
Start by gathering personal protective equipment, including safety goggles, gloves, and a hard hat. These items will shield you from potential hazards.
You’ll also need a first-aid kit in case of minor injuries. Familiarize yourself with emergency procedures, such as how to shut off power and contact local authorities if needed.
A reliable flashlight is vital for working in dim areas.
Safety Precautions Before Installation
Before you start the installation, it’s essential to follow electrical safety guidelines to prevent accidents.
Make certain you’re using the right equipment and wearing personal protective gear for your protection.
Taking these precautions will help guarantee a smooth and safe installation process.
Electrical Safety Guidelines
To guarantee your safety during installation, it’s crucial to follow specific electrical guidelines. Ignoring these can lead to serious electrical hazards.
Here are some safe practices to keep in mind:
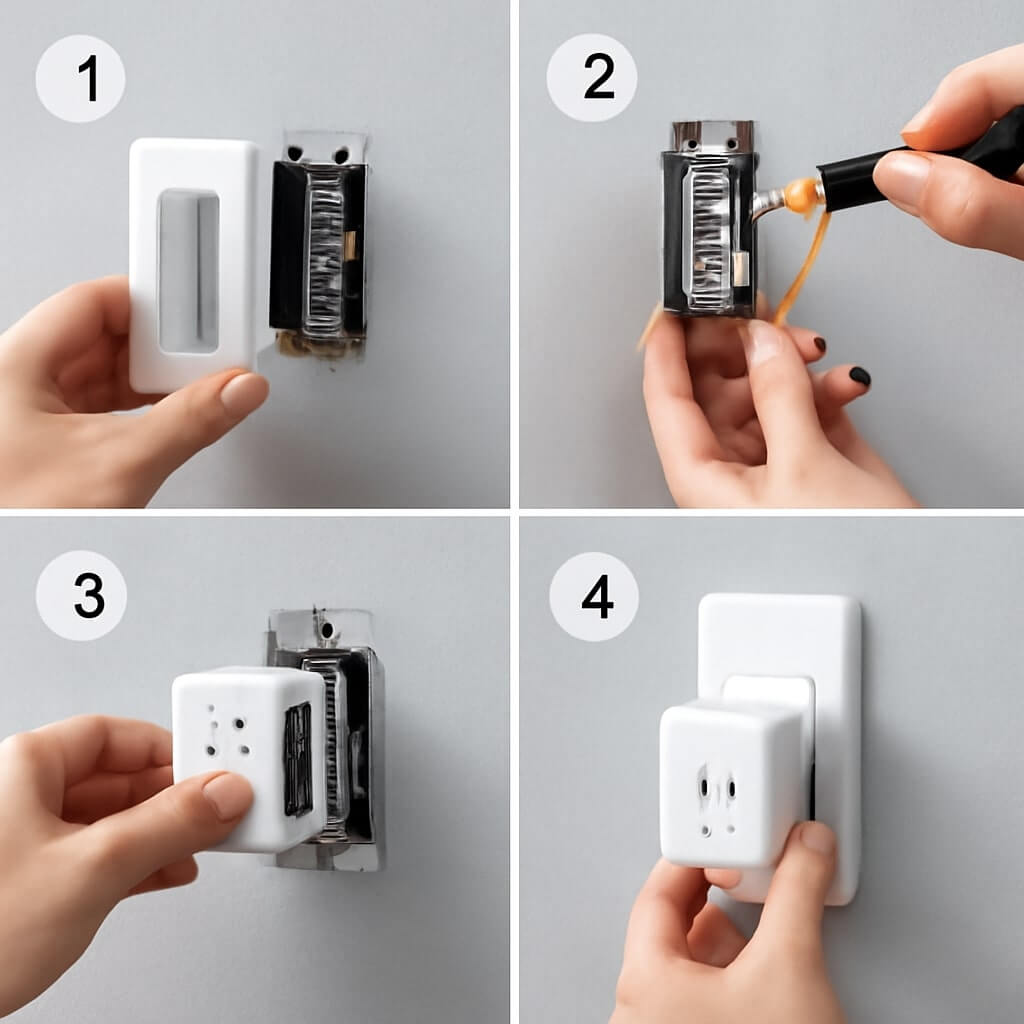
- Always turn off the power at the circuit breaker before starting.
- Use insulated tools to prevent electrical shocks.
- Check for any exposed wires or damaged cords.
- Wear rubber-soled shoes to reduce the risk of electrical shock.
- Verify your workspace is dry and free of clutter.
Proper Equipment Usage
Assuring proper equipment usage is essential for a safe and efficient installation process.
Before you start, familiarize yourself with each component of the Anker Smart Home Power Kit. Verify that all devices are compatible and functioning correctly, as this will streamline your smart device management.
Make certain to handle cables carefully to avoid damage, which can impact energy efficiency. Always follow the manufacturer’s instructions and keep your workspace organized to prevent accidents.
Regularly check for updates or alerts from your devices to maintain peak performance. Taking these precautions will enhance your installation experience and assure long-lasting functionality.
Personal Protective Gear
Wearing the right personal protective gear is essential for your safety during the installation of the Anker Smart Home Power Kit.
Make sure you equip yourself with the following items:
- Protective eyewear to shield your eyes from debris
- Safety gloves to protect your hands from sharp edges
- Dust mask to avoid inhaling harmful particles
- Hard hat if working in overhead areas
- Non-slip footwear for better stability on various surfaces
Setting Up the Smart Home Hub
Once you’ve gathered all necessary components, setting up the Smart Home Hub becomes a straightforward process.
Begin by placing the hub in a central location for ideal connectivity. Plug it into a power source and connect it to your Wi-Fi network using the user interface on the accompanying app.
Place your hub centrally for optimal connectivity, then power it up and connect to Wi-Fi via the app.
Familiarize yourself with the smart hub features, as they’ll enhance your home automation experience. Follow the on-screen prompts to complete the initial setup.
Verify your hub is updated to the latest firmware for improved performance. With these steps, your Smart Home Hub will be ready for connecting devices in no time!
Connecting Your Devices
Now that your Smart Home Hub is set up, it’s time to connect your devices.
First, you’ll want to check their compatibility with the hub.
Then, follow our step-by-step pairing guide to guarantee a seamless connection.
Device Compatibility Check
How can you guarantee that your devices are compatible with the Anker Smart Home Power Kit?
Start by checking the following:
- Confirm your devices support smart device compatibility.
- Look for the required wireless protocols (like Wi-Fi or Zigbee).
- Verify the voltage ratings meet the Anker specifications.
- Check manufacturer guidelines for home automation options.
- Use the Anker app for compatibility updates.
Step-by-Step Pairing Guide
After confirming your devices are compatible with the Anker Smart Home Power Kit, it’s time to connect them.
Begin by selecting your preferred pairing method—either Bluetooth or Wi-Fi. For Bluetooth, enable it on both your device and the power kit, then search for available devices. Once found, tap to connect.
For Wi-Fi, access the app, select your device, and follow the prompts for device connectivity. Verify your smartphone is connected to the same network.
Once paired, check the app to confirm successful connection. Repeat these steps for any additional devices you want to integrate into your smart home system.
Configuring the Anker App
To configure the Anker App effectively, you’ll first need to guarantee your smartphone is connected to the same Wi-Fi network as your Anker devices.
Once you’re connected, open the app and explore its user interface to access various app features.
- Customize device settings for peak performance.
- Monitor energy usage from your Anker devices.
- Schedule on/off times for convenience.
- Receive notifications about device activity.
- Update firmware for enhanced functionality.
Creating Automation and Scenes
Once you’ve configured the Anker App and familiarized yourself with its features, you can take full advantage of automation and scenes to optimize your smart home experience.
Start by setting up automation triggers, like specific times or events, to control your devices automatically. For instance, you can schedule lights to turn on at sunset or have your coffee maker start when you wake up.
Next, explore scene customization to create specific moods or settings, such as a “Movie Night” scene that dims lights and adjusts your smart TV.
With these tools, you’ll enhance comfort and convenience in your home.
Troubleshooting Common Issues
Sometimes, users encounter issues with their Anker Smart Home devices, but troubleshooting them can often be straightforward.
Troubleshooting Anker Smart Home devices can be simple, even when issues arise.
Here are some common problems and solutions:
- Check for faulty connections: Verify all plugs and cables are securely connected.
- Update device firmware: Outdated firmware can lead to functionality issues.
- Restart your devices: A simple reboot can resolve many glitches.
- Reset to factory settings: If problems persist, restoring settings can help.
- Consult the app: Use the Anker app for diagnostics and support resources.
Maintaining Your Smart Home System
Maintaining your smart home system is essential for ensuring it operates smoothly and efficiently. Regular smart home maintenance includes checking device connections and ensuring they’re up-to-date.
Schedule system updates to keep your devices secure and functioning at their best. Set reminders for periodic checks, such as inspecting batteries in sensors or replacing filters in smart appliances.
Additionally, review your system settings to optimize performance based on your usage. By staying proactive about maintenance, you’ll enhance the longevity and reliability of your smart home setup.
Keep your environment safe and enjoyable by following these simple steps consistently.
Exploring Additional Features and Integrations
As you explore additional features and integrations of your Anker Smart Home Power Kit, you’ll discover how these enhancements can elevate your smart home experience.
With options like:
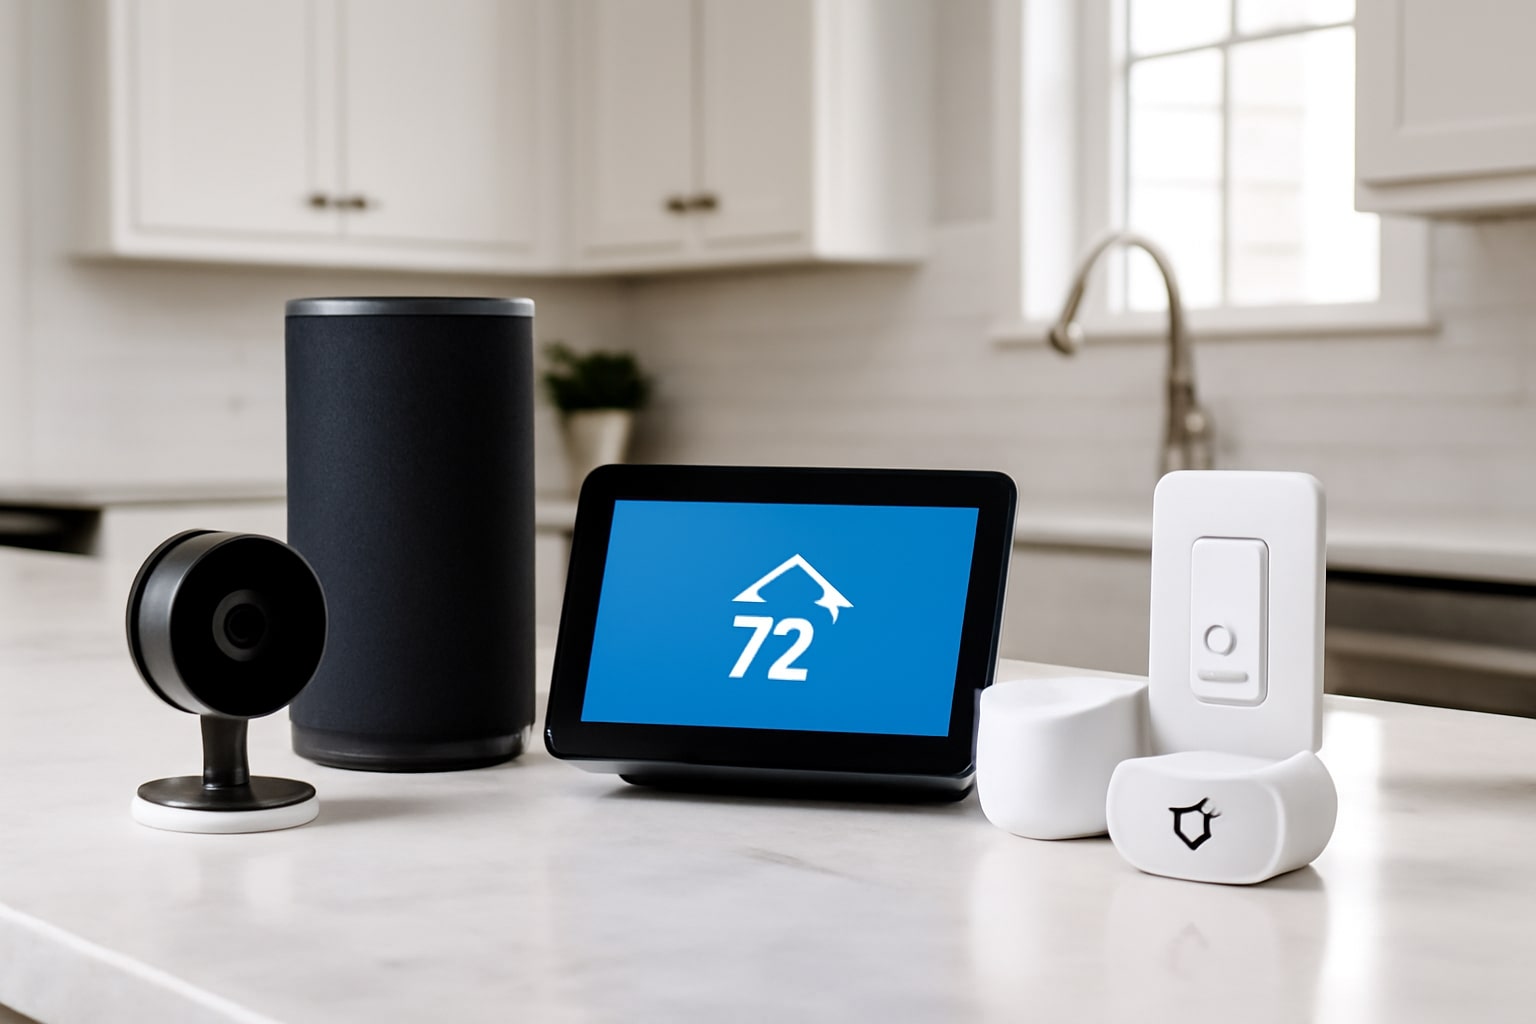
- Voice control via Alexa or Google Assistant
- Energy monitoring to track usage and reduce costs
- Integration with smart lights and thermostats
- Scheduling features for automated routines
- Compatibility with IFTTT for custom triggers
These tools not only streamline your daily tasks but also help you manage energy consumption efficiently.
Embrace these features to create a smarter, more responsive home environment tailored to your needs.
Conclusion
By following these step-by-step instructions, you can easily set up your Anker Smart Home Power Kit and transform your living space into a smart environment. Remember to prioritize safety during installation and explore the various automation features to enhance your experience. If you encounter any issues, the troubleshooting tips will help you resolve them quickly. Enjoy the convenience and efficiency of your new smart home system, and don’t hesitate to explore additional features for even more integration.